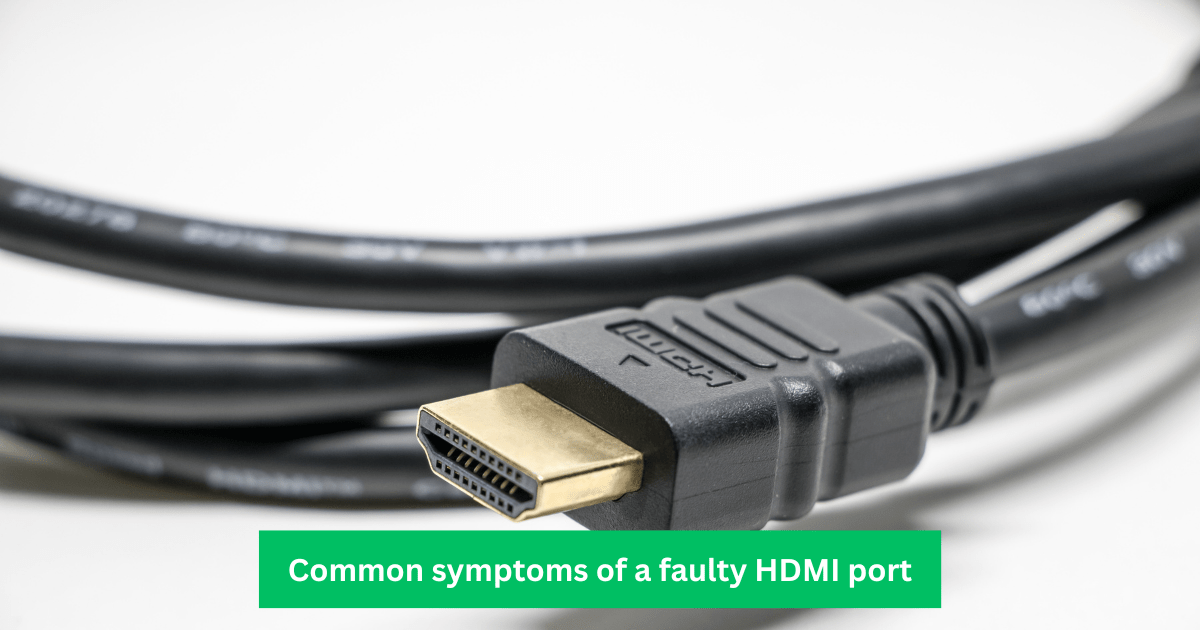
Common Symptoms of a Faulty HDMI Port


If you’re an avid gamer, your Xbox console is like your best friend – always there to provide endless hours of entertainment. But what happens when the HDMI port starts acting up, and your favorite games are reduced to a pixelated mess? Don’t panic! In this article, we’ll show you how to fix the HDMI port on your Xbox, so you can get back to immersive gaming in no time.
Whether you’re experiencing a flickering screen, a black screen with audio, or no signal at all, our comprehensive tutorial will walk you through the process of repairing your Xbox HDMI port. From troubleshooting tips to detailed instructions, we’ve got you covered.
No need to spend a fortune on a new console or hefty repair fees. With our guide, you can easily perform the repairs yourself, saving you time and money. It’s time to regain your gaming glory!
So dust off your tools and let’s dive into the world of Xbox HDMI port repair. Prepare to level up your gaming experience as we take you through this DIY journey step by step.
Remember, before you start any repair, ensure your gaming console is unplugged and disconnected from any power source to avoid any electrical mishaps. Now, let’s get started!
Tools and Materials Needed for the Repair
Before we jump into the repair process, let’s first understand the common symptoms that indicate a faulty HDMI port on your Xbox console. These symptoms can vary from minor issues to more severe problems that require immediate attention.
One common symptom is a flickering screen. You may notice random flashes or blackouts while playing your games or watching movies. This can be frustrating and greatly affect your overall gaming experience.
Another symptom is a black screen with audio. In this case, you can hear the game audio, but the screen remains blank. This usually indicates a problem with the HDMI port’s connection, preventing the video signal from being transmitted properly.
Lastly, you may encounter a situation where there is no signal at all. This means that your TV or monitor is not receiving any input from the Xbox console. It could be due to a damaged HDMI port or a problem with the cable itself.
Now that you know what to look out for, let’s move on to the tools and materials you’ll need for the repair.
Step-by-Step Guide to Disassembling the Xbox Console
Before you begin the repair process, it’s essential to gather all the necessary tools and materials. Having everything prepared beforehand will ensure a smooth and efficient repair process.
Here’s a list of items you’ll need:
- Screwdriver set (including both flathead and Phillips head screwdrivers)
- Plastic pry tool or spudger
- Isopropyl alcohol and a clean microfiber cloth
- Replacement HDMI port (if required)
- Soldering iron and solder (for advanced repairs)
Make sure you have these tools readily available before proceeding with the repair. Now, let’s move on to disassembling the Xbox console.
Identifying the HDMI Port and Assessing the Damage
Disassembling your Xbox console may seem intimidating, but with careful attention and following the steps outlined below, you’ll be able to do it successfully.
- Start by removing any external cables connected to the console, such as the power cord and HDMI cable.
- Place the console on a clean, flat surface and locate the screws that hold the case together. These screws are usually found on the back of the console.
- Use the appropriate screwdriver (flathead or Phillips head) to remove the screws. Keep them in a safe place to avoid misplacing them.
- Once all the screws are removed, carefully lift the top cover of the console, exposing the internal components.
- Take note of the different cables and connectors inside the console. It’s essential to disconnect them properly to avoid any damage.
- Use the plastic pry tool or spudger to gently detach the cables from their respective connectors. Take your time and be careful not to apply too much force.
- Once all the cables are disconnected, you can now remove the top cover completely, revealing the internal circuitry of the console.
Congratulations! You have successfully disassembled your Xbox console. Now, let’s move on to the next step – identifying the HDMI port and assessing the damage.
Repair Options: DIY vs. Professional Repair
Now that you have the console disassembled, it’s time to locate the HDMI port and assess its condition. The HDMI port is usually positioned at the back of the console and is where you connect the HDMI cable.
Inspect the HDMI port closely for any visible signs of damage. Look for bent pins, loose connections, or any physical damage that may be causing the issue. Use a magnifying glass if necessary to get a better view.
If you notice any major damage or if the port is completely broken, you may need to replace it. However, if the damage is minor, you can try some DIY methods to fix the HDMI port before considering a replacement.
In the next section, we’ll discuss the repair options – DIY versus professional repair – to help you make an informed decision.
DIY Methods for Fixing Minor HDMI Port Issues
When faced with a faulty HDMI port, you have two options – fixing it yourself or seeking professional repair services. Let’s explore the pros and cons of each to help you decide which option is best for you.
DIY Repair
Pros:
- Cost-effective: Performing the repair yourself can save you money on repair fees or buying a new console.
- Learning opportunity: DIY repair allows you to learn more about the inner workings of your Xbox console.
- Convenience: You can perform the repair at your own pace and according to your schedule.
Cons:
- Risk of further damage: If you’re not experienced in console repairs, there is a risk of causing further damage to the HDMI port or other components.
- Voiding warranty: Opening up your console and performing repairs yourself may void any existing warranty.
- Time-consuming: Repairing the HDMI port yourself requires time and patience, especially if you’re new to console repairs.
Professional Repair
Pros:
- Expert knowledge and experience: Professional repair technicians have the expertise to diagnose and fix complex issues with your Xbox console.
- Warranty protection: Reputable repair centers often provide warranties on their repairs, giving you peace of mind.
- Time-saving: Getting your console repaired by professionals means you can get back to gaming sooner.
Cons:
- Higher cost: Professional repair services may come with a higher price tag compared to DIY repairs.
- Limited availability: Depending on your location, finding a reliable repair center may be challenging.
Consider your skill level, the complexity of the repair, and your budget before making a decision. If you’re confident in your abilities and the damage is minor, let’s move on to the DIY methods for fixing minor HDMI port issues.
Advanced Repair Techniques for Severe HDMI Port Damage
If the damage to your HDMI port is minor, you can try these DIY methods to fix the issue before considering a replacement.
- Clean the HDMI port: Dust, debris, or corrosion can interfere with the connection. Use a can of compressed air to blow out any dirt or debris from the port. Then, moisten a clean microfiber cloth with isopropyl alcohol and gently wipe the port.
- Check the HDMI cable: Sometimes, the issue may not be with the port itself but with the HDMI cable. Try using a different HDMI cable to rule out any cable-related problems.
- Adjust the HDMI cable: Ensure that the HDMI cable is securely plugged into both the console and the TV or monitor. Sometimes, a loose connection can cause issues.
- Reset display settings: On your Xbox console, go to the settings menu and reset the display settings to default. This can help resolve any software-related issues that may be affecting the HDMI port.
Try these DIY methods and test your Xbox console to see if the issues have been resolved. If not, it may be time to consider more advanced repair techniques.
Reassembling the Xbox Console and Testing the HDMI Port
If the DIY methods didn’t fix the issue or if the damage to your HDMI port is severe, you may need to perform more advanced repair techniques. Please note that these techniques require soldering, so only proceed if you have experience with soldering or feel confident in your abilities.
- Remove the damaged HDMI port: Using a soldering iron, carefully heat the solder joints on the HDMI port to melt the solder. Once the solder is melted, use the desoldering pump or desoldering braid to remove the old solder and remove the damaged port.
- Clean the PCB: After removing the old HDMI port, clean the PCB (printed circuit board) where the port was soldered. Use isopropyl alcohol and a clean microfiber cloth to remove any remaining solder or debris.
- Prepare the replacement HDMI port: If you’re replacing the HDMI port, ensure you have a compatible replacement. Align the pins of the new port with the holes on the PCB, making sure they match.
- Solder the new HDMI port: Apply a small amount of solder to the soldering iron tip and heat the pin and corresponding pad on the PCB simultaneously. Once the solder melts, remove the heat and allow it to cool, creating a secure connection.
- Test the HDMI port: Reassemble the Xbox console and connect it to your TV or monitor using a known working HDMI cable. Power on the console and check if the HDMI port is functioning correctly.
Remember, if you’re not comfortable with soldering or unsure about advanced repair techniques, it’s always best to seek professional repair services.
Conclusion: Maintaining the Longevity of Your Xbox HDMI Port
Once you’ve completed the necessary repairs, it’s time to put your Xbox console back together and test the HDMI port to ensure it’s working correctly.
- Carefully reattach all the cables to their respective connectors inside the console. Use the plastic pry tool or spudger to secure the connections without applying excessive force.
- Place the top cover back onto the console and align it with the screw holes. Insert and tighten all the screws you removed during the disassembly process.
- Reconnect the external cables, including the power cord and HDMI cable, ensuring a secure connection.
- Power on your Xbox console and connect it to your TV or monitor using a working HDMI cable. Check if the screen displays properly and if there are any issues with the HDMI port.
If the HDMI port is functioning correctly, congratulations! You’ve successfully repaired your Xbox console’s HDMI port. If not, consider seeking professional repair services or contacting Xbox support for further assistance.
Hope this article was helpful to you. If you have more questions or need additional information, feel free to ask in the comment section!
Check Out Related Articles:
